

Price :
QTY :
CART TOTALS :
There are items
in your cart
CART TOTALS :
Dock shooting works because it lets you put a crappie jig where a normal cast often cannot reach.
Crappie commonly use docks, boat lifts, walkways, floats, and other overhead cover for shade, protection, and access to baitfish. The fish anglers can see around the outside edge are often only part of the opportunity. Some of the best fish may be several feet farther into the structure.
That is where shooting becomes valuable. But successful dock shooting is not just about learning how to launch a jig under a dock. The complete system matters.
Line controls how easily the bait launches and how well you see the bite. Jighead design determines how well the plastic survives repeated skips. Release angle determines whether the bait skips deep under the cover or slaps into the water and stops short. And once the jig gets there, you still have to let it fall through the depth where the crappie are holding.
The goal is to make a repeatable low-angle shot into a specific opening, then maintain enough control to recognize the bite before the jig leaves the strike zone.
Dock shooting uses the rod like a loaded spring. Instead of making a traditional overhead or sidearm cast, the angler holds the jig, pulls it back to load the rod blank, aims toward an opening under the dock, and releases the jig while releasing the line from the spinning reel.
The jig launches forward on a low trajectory and can skip across the surface before continuing underneath the dock. That low trajectory is the entire point. A normal cast needs open space above the lure. Dock shooting allows the jig to enter through openings only a few inches above the water.
If you are deciding whether shooting, casting, or vertical jigging fits the situation better, start with Shooting vs. Casting vs. Vertical Jigging: Choosing the Right Crappie Presentation.
When anglers first learn to shoot docks, they often focus too much on distance. Accuracy matters more. Before loading the rod, identify the opening through which the jig needs to travel.
Look for:
Gaps underneath dock floats.
Openings between posts.
Space beneath boat lifts.
Dark shade pockets.
Open lanes between cables and cross braces.
Areas where a jig can fall without immediately hanging in structure.
The best target may not be the deepest point beneath the dock. It's often the opening that lets you place the jig into productive water and still control what happens after it lands.
Think of dock shooting more like skipping a flat stone than throwing a baseball. The jig needs to travel almost parallel to the water. If the entry angle is too steep, the bait hits the surface hard, creates more splash, and loses forward momentum.
If the angle is flatter, the jig is more likely to touch the surface and continue moving underneath the cover. There is no exact degree that works for every dock because every opening is different. Instead, use a simple principle: Keep the trajectory as low and flat as the opening allows.
You are trying to send the jig through the opening, not down toward the water.
Your release may be too steep or too late.
Flatten the shot and think farther underneath the dock rather than aiming directly at the surface in front of you.
You may be releasing too early or failing to keep the rod path low.
That becomes a problem around low floats, boat lifts, and cross members.
Do not automatically shoot harder.
Look at:
Jig weight.
Plastic profile.
Line diameter.
How much the rod is loaded.
Whether your release is smooth.
Whether the bait is entering the water too steeply.
More force does not fix poor geometry.
Line choice affects casting distance, line control, abrasion resistance, and one of the most important parts of dock shooting: seeing the bite.
Many bites happen while the jig is falling on the initial shot. You may never feel the classic crappie “thump.” Instead, the line might jump, stop early, move sideways, or suddenly go slack. That makes visibility extremely useful.
For a straightforward dock-shooting setup, 4- to 6-pound high-visibility monofilament is a practical starting point.
Mono works well because it:
Comes off a spinning reel easily.
Has enough stretch to be forgiving around light hooks and crappie mouths.
Is easy to see when watching the fall.
Keeps the rig simple with no leader knot.
Handles light jigheads well.
If the line suddenly stops before the jig reaches the expected depth, set the hook. A crappie may have intercepted it on the fall.
Light braid paired with a fluorocarbon or monofilament leader is another option.
Braid provides very little stretch and excellent sensitivity, while a leader gives you a replaceable section near the jig when fishing around dock hardware or other abrasive cover.
The tradeoff is added complexity. You now have a connection knot moving through the guides, and very light jigs can sometimes feel different on braid than on mono.
For many anglers learning to shoot docks, simple high-vis mono is hard to beat. If abrasion, sensitivity, or personal preference pushes you toward braid, a leader system can work very well.

Dock shooting is unusually hard on a jig-and-plastic combination.
The bait may:
Launch at high speed.
Hit the water.
Skip again.
Contact dock posts, floats, or cross braces.
Get reeled back and immediately fired underneath another dock.
A plastic that slides down the hook after every second shot becomes a problem quickly. That is one of the reasons an application-specific head makes sense.
The 1standard Dock Shooter Jighead uses a spring wire molded into the head to help hold the plastic in place through repeated shooting and skipping. It also uses a size 2 straight-eye O’Shaughnessy-style hook, while the vertical eye is designed to move cleanly through cover and around obstructions. Those details matter more in dock shooting than they might during a simple open-water cast.
A jighead that works perfectly well in open water may not be designed around repeated impact with the surface and surrounding structure.
Whatever plastic you choose, rig it straight. A crooked plastic can cause the bait to track inconsistently, tumble on the skip, or enter the water unpredictably.
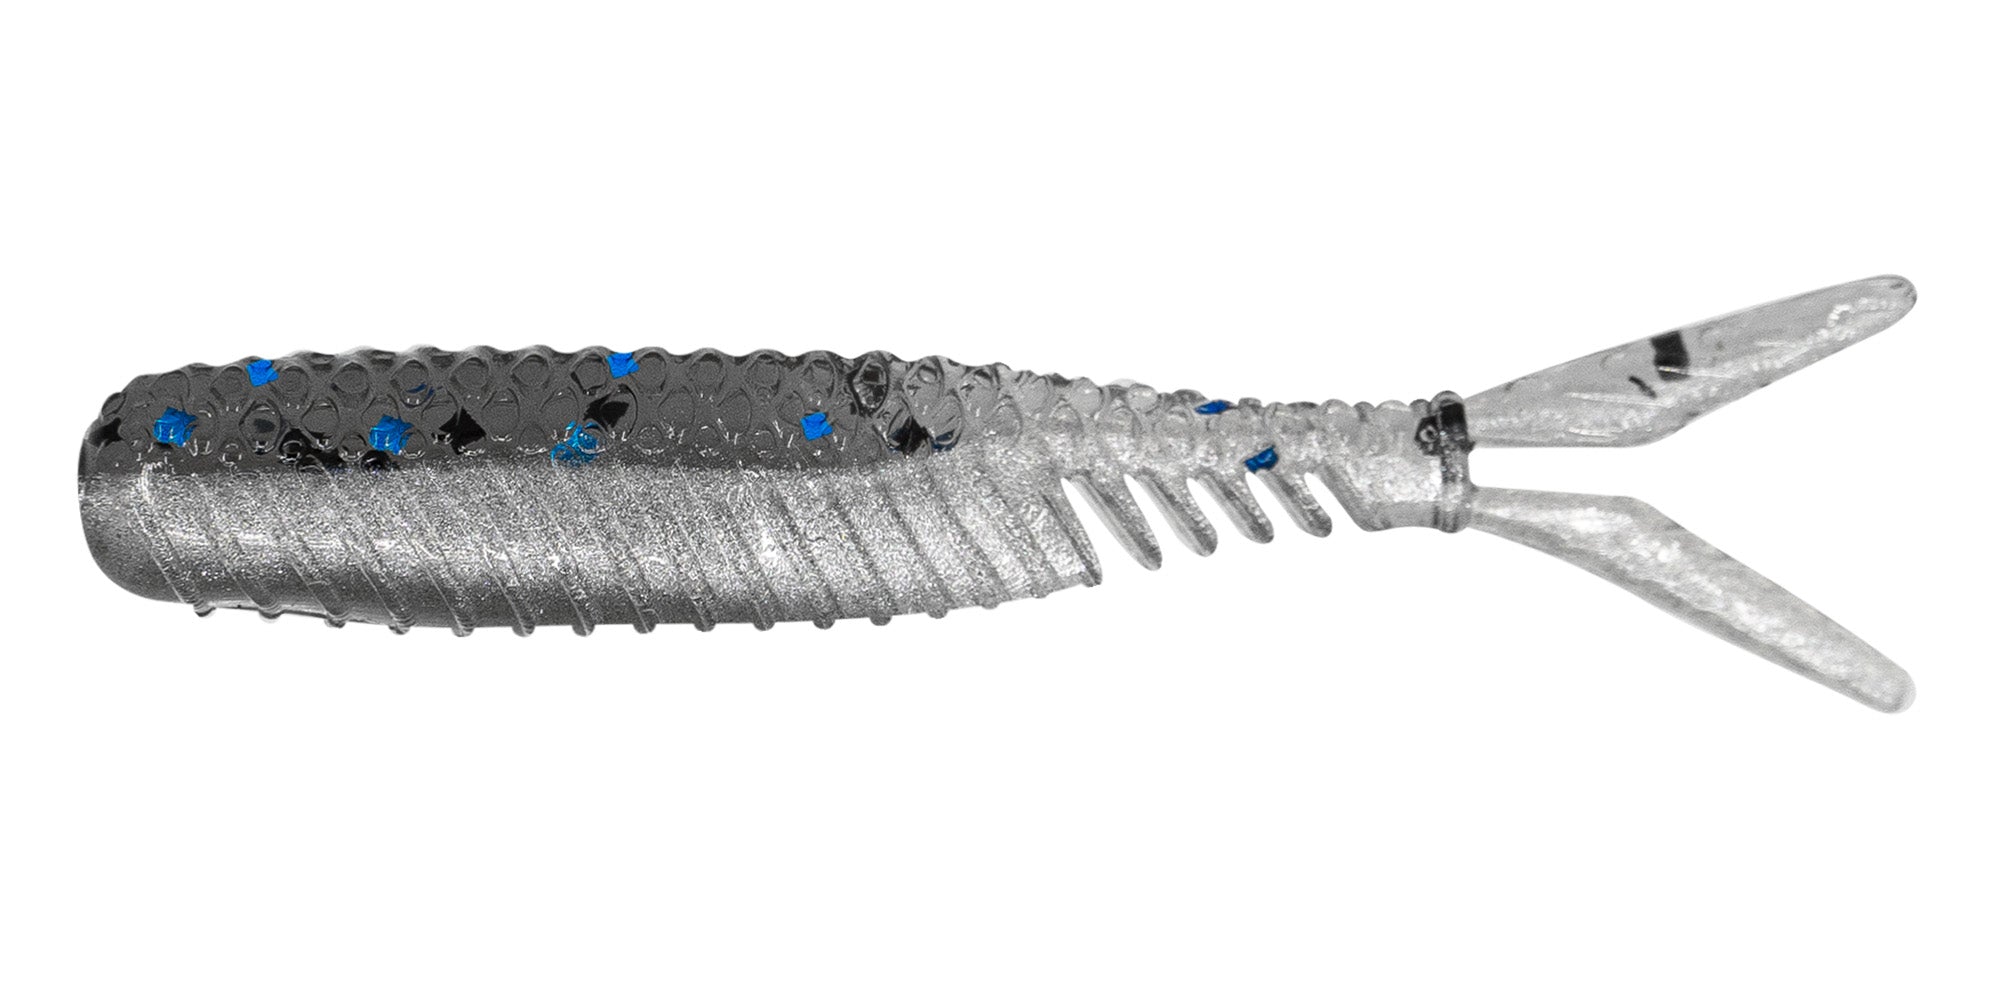
The 1standard Minnow1 is a natural pairing with the Dock Shooter Jighead because its round body gives the keeper material to grab, while the flat front of the bait seats against the jighead.
Ask:
Does the plastic rig straight?
Does it stay in place after repeated skips?
Does the profile skip cleanly?
Does the bait still provide the fall and action you want once it gets beneath the dock?
If you need help seating the plastic correctly, 1standard also has a dedicated Dock Shooter rigging demonstration.
Jig weight affects both the shot and what happens after the bait lands. The Dock Shooter Jighead is available in 1/16 and 1/8 ounce, giving you two useful starting options.
Favor 1/16 ounce when:
Fish are relatively shallow beneath the dock.
Crappie are suspended high in the water column.
Conditions are calm.
You want the jig to fall more slowly.
Fish are following the bait but not committing.
You want more time in the strike zone after the skip.
Consider 1/8 ounce when:
Fish are deeper.
Wind creates excessive line bow.
You need greater shooting distance.
The jig is taking too long to reach the fish.
You have trouble repeating the same fall.
You need better control around specific pieces of structure.
Do not choose weight only based on which one skips farther. The jig still needs to fish correctly once it gets underneath the dock.
For a deeper explanation of that decision, see Best Crappie Jig Weight by Depth: A Simple Chart for Wind, Current, and Fall Rate.
A perfect skip does not matter if you immediately pull the jig away from the fish. Once the bait enters beneath the dock, watch the line. Let the jig fall into the expected strike zone before beginning the retrieve.
This is where dock shooting becomes a depth-control technique rather than simply a casting trick. If fish are suspended five feet down underneath a dock sitting in 15 feet of water, there is usually little reason to let the jig fall all the way to the bottom.
Pay attention to:
Where bites occur.
How long the jig had been falling.
Where your line entered the water.
Which opening produced the shot.
Whether the fish ate during the fall or after the retrieve began.
Once you get a bite, try to reproduce the same shot and the same fall. That repeatability is often more important than constantly changing colors or moving to the next dock.
| What You See | Likely Problem | Adjustment |
|---|---|---|
| Jig hits the water hard and stops | Entry angle too steep | Flatten the trajectory |
| Jig flies into the dock above the opening | Release too high or too early | Lower rod path and release |
| Shot is accurate but consistently short | Not enough load, poor line flow, or too-light setup | Smooth the release or test more weight |
| Plastic slides down after repeated skips | Bait retention issue | Use a head designed to secure the plastic |
| Jig reaches the dock but falls past fish too quickly | Too much weight | Test 1/16 oz |
| Jig takes too long to reach deeper fish | Too little weight | Test 1/8 oz |
| You repeatedly miss bites on the fall | Poor line visibility or too much slack | Watch the line more closely and improve control |
| Every bite comes from one opening | Fish positioning pattern | Repeat the same angle and depth |
The important point is to solve the specific problem rather than changing everything at once.

Do not randomly pepper the entire structure. Work through likely targets. A practical sequence is:
Outside shade edge – Check for active fish without disturbing the dock.
First openings underneath – Shoot accessible lanes between posts and floats.
Darkest interior water – Work progressively deeper into the shade.
Posts and vertical structure – Let the jig fall beside potential ambush points.
Boat lifts and cross members – Target them only when you have a clean opening.
If you get bit, repeat the exact lane before moving farther underneath the dock.
Crappie often position similarly on docks with the same depth, shade, and structural layout. Finding that positioning pattern can turn one productive dock into several.
Learning to shoot a jig under a dock takes practice, but the mechanics are only part of the system. The real goal is repeatability.
Pick a specific opening. Use a low, flat trajectory. Choose line you can manage and see. Use a jighead that keeps the plastic in place through repeated skips. Then pay attention to the depth and fall where the fish actually respond. Once you get bit, do not immediately start experimenting.
Repeat the same angle. Repeat the same fall. Repeat the same depth.
That is when dock shooting stops being a trick cast and becomes one of the most precise ways to put a crappie jig where other anglers cannot.